
HOW TO START AMAZON FBA · 2026
How to Open an Amazon Seller Central Account Step by Step
By Brandhunterz Ltd | Company No: 15342697 | 13 minute read
Affiliate Disclosure: This article contains affiliate links. If you purchase through our links we may earn a commission at no extra cost to you. We only recommend tools we genuinely use and believe in. Read our full disclaimer.
Opening an Amazon Seller Central account is the first real step in your Amazon FBA journey. Without it you cannot list products create shipments or receive payments. Yet despite being a straightforward process many new sellers get confused by the account types the verification requirements and the setup steps — and make costly mistakes at this early stage that delay their business launch by days or even weeks.
We are Brandhunterz Ltd — a UK registered wholesale sourcing company (Company No: 15342697) — and in this complete step-by-step guide we walk you through exactly how to open an Amazon Seller Central account in 2026. From choosing the right account type to completing identity verification and configuring your account settings every step is covered so you can get set up correctly the first time.
💡 Quick Summary
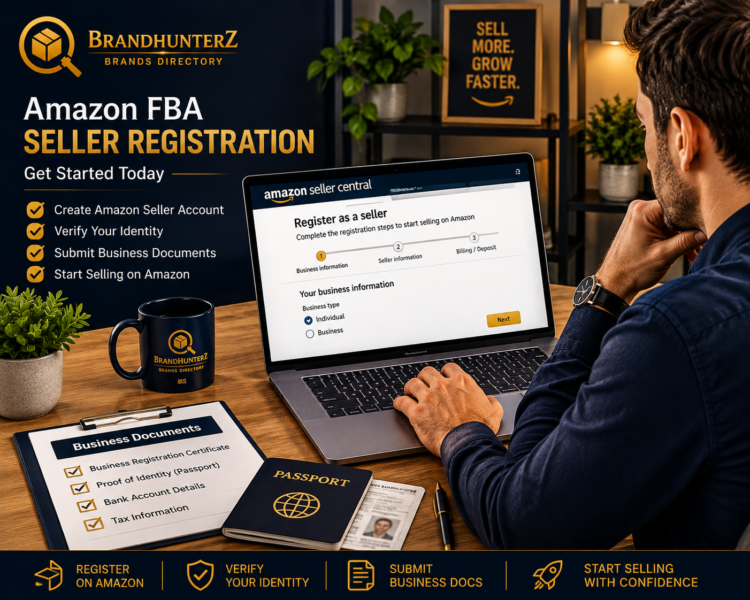
Opening an Amazon Seller Central account requires a registered business, a business bank account, a valid photo ID, and a phone number for verification. Choose the Professional plan at £25 per month — not the Individual plan — and complete Amazon’s identity verification process within 30 days of registration to avoid your account being suspended before you have sold a single item.
Before You Start — What You Need to Register
Amazon requires specific documentation and information to open a Seller Central account. Gathering everything before you start the registration process prevents you from having to stop midway through and potentially triggering account flags. Here is the complete list of what you need:
| Requirement | Details | Status |
|---|---|---|
| Email Address | A professional business email — not shared with another Amazon account | Essential |
| Mobile Phone Number | For SMS or voice verification during registration | Essential |
| Business Registration Details | Company name, registered address, and Companies House registration number | Essential |
| Government-Issued Photo ID | Passport or driving licence — must be valid and not expired | Essential |
| Bank Account Details | Business bank account with sort code and account number — must match your registered business name | Essential |
| Credit or Debit Card | For billing the monthly Professional plan fee — must be internationally chargeable | Essential |
| VAT Number | Only required if you are VAT registered — optional for new businesses below the threshold | If applicable |
Do Not Use a Personal Bank Account
Amazon requires a bank account that matches your registered business name for payment disbursement. Trying to use a personal bank account for a limited company will cause your account setup to fail and delay your ability to receive payments. Open a business bank account through a provider like Starling Monzo Business or HSBC Business before starting your Seller Central registration.
Individual vs Professional — Which Selling Plan Should You Choose?
Amazon offers two selling plans when you register a Seller Central account. Choosing the wrong one is one of the most common and costly beginner mistakes — so understanding the difference clearly before you register is essential.
| Feature | Individual Plan | Professional Plan |
|---|---|---|
| Monthly Fee | No monthly fee | £25 per month plus VAT |
| Per Item Fee | 75p per item sold | No per item fee |
| Buy Box Eligibility | Not eligible | Fully eligible |
| FBA Access | Very limited | Full access |
| Create New Listings | Cannot create new ASINs | Full ASIN creation |
| Bulk Listing Upload | Not available | Available |
| Advertising Access | Not available | Full access to Sponsored Products |
| Best For | Casual sellers only | All serious FBA sellers |
💡 The Professional Plan Pays for Itself Immediately
At 75p per item the Individual plan costs the same as the Professional plan the moment you sell 34 items per month. But the more important point is that the Individual plan does not give you Buy Box eligibility — which means customers cannot add your items to their basket from the standard product page. Without Buy Box access your sales will be near zero regardless of your pricing. Always choose the Professional plan from day one.
Step-by-Step Registration Process
With all your documents ready follow these steps to complete your Seller Central registration. Take your time at each stage — rushing through the process and entering incorrect information is one of the leading causes of account verification failures and delays.
Go to sell.amazon.co.uk and Click Start Selling
Navigate to sell.amazon.co.uk and click the Start selling button. Make sure you are logged out of any personal Amazon customer account before you begin — registering from within a personal account can cause complications. Use an incognito browser window if you want to be absolutely certain.
Create a New Amazon Account With Your Business Email
Enter your professional business email address and create a strong password. This email becomes the primary login for your Seller Central account so choose one you will actively monitor. Amazon will send account alerts payment notifications and policy updates to this address.
Select Professional Selling Plan and Enter Business Information
Select the Professional selling plan when prompted. Enter your business legal name exactly as it appears on your Companies House certificate. Enter your registered business address. Select United Kingdom as your business location and Limited Company as your business type.
Enter Your Company Registration Number and Director Details
Enter your Companies House registration number when prompted. You will also be asked for the full legal name, date of birth, home address and nationality of the primary business contact — which is typically the director. This information is used for identity verification and must match your government-issued ID exactly.
Enter Your Bank Account Details
Enter your business bank account sort code and account number. This is the account Amazon will send your sales payments to every 14 days after deducting fees. The account holder name must match your registered business name exactly. Amazon may make a small verification deposit to confirm your account.
Add Your Billing Credit Card
Enter a valid credit or debit card for billing the monthly Professional plan fee and any other Amazon charges. This card must be internationally chargeable as Amazon charges from Luxembourg. Prepaid cards and some debit cards are not accepted — use a standard credit card if you encounter any issues.
Choose Your Store Name
Enter your Amazon store name — this is the name customers see on your seller profile and product listings. It does not need to match your company name but must be unique on Amazon. Avoid using brand names you do not own as this can cause immediate account issues. Your store name can be changed later from account settings.
Complete the Identity Verification Process
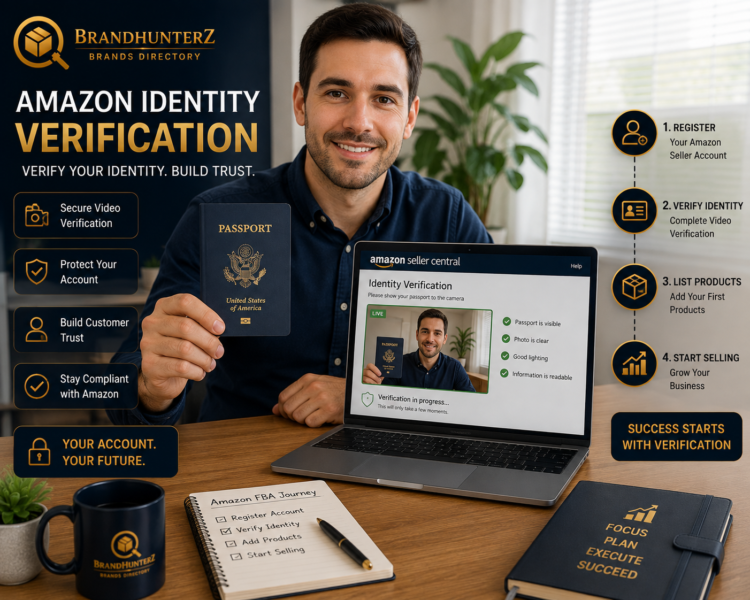
Amazon requires identity verification for all new seller accounts. This involves uploading a photo of your government-issued ID and completing a short video verification call where you hold your ID up to the camera. The process typically takes 5 to 10 minutes. Complete this within 30 days of registration or your account will be suspended pending verification.
After Registration — Essential Account Settings to Configure
Once your account is open and verified there are several critical settings you need to configure before you start listing products or sending inventory to FBA. Many new sellers skip these steps and create problems for themselves down the line.
Set Up Two-Step Verification
Enable two-step verification immediately after opening your account. Amazon accounts without two-step verification are significantly more vulnerable to being hijacked — a growing problem in the FBA seller community that can result in your listings being changed, your payments diverted, and your account suspended. Go to Login Settings in your account and enable two-step verification using an authenticator app rather than SMS for maximum security.
Configure Your Return Address
Set your return address in Account Info under the Returns and Refunds section. For FBA sellers Amazon handles returns directly — customers return items to Amazon’s fulfilment centres rather than to you. However some products such as dangerous goods or oversized items may be returned directly to you, so having a valid business return address configured is essential.
Set Up Your Shipping Settings
Even as an FBA seller you need to configure shipping settings for the rare occasions when you fulfil orders yourself — for example if an item is out of stock at FBA. Go to Shipping Settings and configure your default merchant-fulfilled shipping rates. Amazon provides template shipping settings you can use as a starting point and customise as needed.
Add Your VAT Number if Applicable
If you are VAT registered add your VAT number in the Tax Settings section of Seller Central. This ensures Amazon calculates VAT correctly on your sales and allows you to download VAT invoices for your purchases. If you are not yet VAT registered you can leave this blank and add it later when you register.
Common Account Registration Mistakes to Avoid
Registering From an IP Address in a Different Country
Amazon’s systems flag registrations where the IP address does not match the registered business country. If you use a VPN during registration switch it off first. Register from a UK IP address for a UK Seller Central account to avoid triggering automated verification holds that can delay your account opening by days.
Using the Same Email Address as an Existing Amazon Customer Account
Using an email already associated with an Amazon customer account for your Seller Central registration creates complications and can link your selling account to your personal purchase history. Always use a fresh business email address that has never been associated with any Amazon account.
Having Multiple Amazon Seller Accounts Without Permission
Amazon strictly prohibits operating multiple Seller Central accounts without explicit written permission. Opening a second account because your first was suspended or because you want to sell in a different category is a serious policy violation that results in permanent suspension of all related accounts. One account per seller per business — no exceptions.
Delaying the Identity Verification Process
Amazon gives you 30 days from registration to complete identity verification. Many new sellers ignore the verification emails thinking they can complete it later and find their account suspended on day 31 before they have made a single sale. Complete identity verification on the same day you register — it takes less than 15 minutes and protects your account immediately.
What to Do After Your Account is Verified
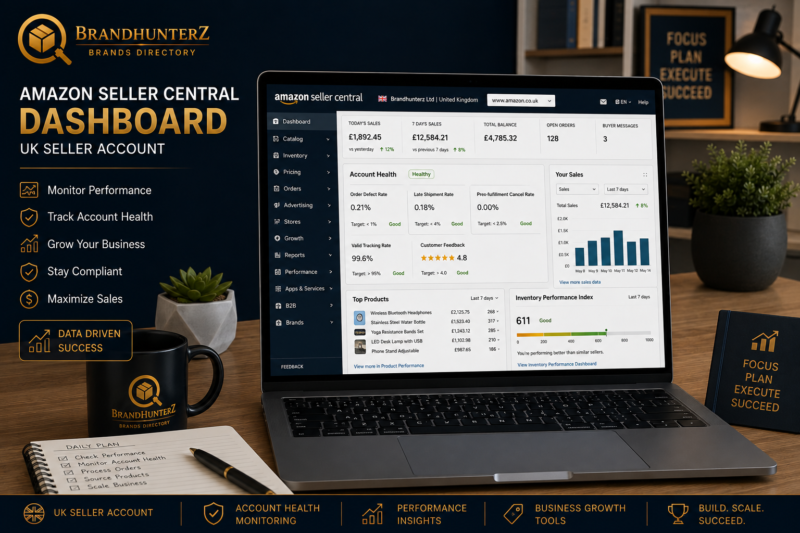
With your Seller Central account open verified and configured you are ready to start the most important part of your Amazon FBA journey — finding products to sell. For wholesale sellers this means researching brands validating demand and applying for trade accounts.
Start your product research immediately using Keepa to check sales history and pricing data for products in your target category and Helium 10 to estimate monthly revenue and keyword demand. Then use the Brandhunterz Brands Directory to find verified trade contact details for the brands whose products you want to source.
📅 Your First Week Action Plan After Opening Seller Central
- Day 1: Complete identity verification and configure all account settings
- Day 2: Subscribe to Keepa and explore the product research tools
- Day 3: Browse Amazon Best Sellers in your target category and shortlist 10 strong brands
- Day 4: Validate shortlisted brands on Keepa and Helium 10
- Day 5: Find trade contact details for your shortlisted brands using the Brandhunterz directory
- Day 6: Write and send your first 5 wholesale trade account application emails
- Day 7: Review responses follow up on sent applications and add 5 more brands to your list
Frequently Asked Questions
How Long Does Amazon Seller Central Registration Take?
The registration process itself takes 30 to 60 minutes. Identity verification adds another 10 to 15 minutes on the same session. Amazon then takes 24 to 48 hours to fully activate your account after verification is complete. In total you should expect to be fully active and able to list products within 2 to 3 business days of starting registration.
Can I Open an Amazon UK Account and Sell on Amazon USA?
Yes — Amazon offers a unified account structure through their North America and European marketplace programmes. From a single Seller Central account registered on Amazon UK you can activate selling permissions on Amazon Germany France Italy Spain and other European marketplaces. Selling on Amazon USA requires a separate Seller Central registration through Amazon.com but you can link your UK and US accounts under the same login credentials.
What Happens if Amazon Rejects My Identity Verification?
If your identity verification fails Amazon will send you an email explaining what went wrong. Common reasons include a blurry ID photo, an expired document, or information that does not match exactly what was entered during registration. You can resubmit your verification documents through Seller Central — use a well-lit environment and ensure all ID details are clearly visible on your camera before uploading.
Do I Need a Website to Open a Seller Central Account?
Amazon does not require you to have a website to open a Seller Central account. However having a basic business website or at minimum a professional LinkedIn company page significantly improves your credibility when applying for wholesale trade accounts with brands. Many brands will check your online presence before approving trade applications — so invest time in building even a simple one-page business website early in your journey.
Related Articles — Keep Learning
- How to Start Amazon FBA in 2026 — Complete Beginner Guide
- Amazon FBA vs FBM — Which Model is Right for You in 2026
- How to Find Your First Wholesale Product to Sell on Amazon FBA
- How to Calculate Amazon FBA Fees and Profit Margins
- Amazon FBA Seller Central — A Complete Beginner’s Walkthrough
- How to Get Ungated on Amazon — A Beginner’s Guide
- Browse the Brandhunterz Brands Directory — Free Access
- Amazon FBA and eBay Wholesale Courses by Brandhunterz
ACCOUNT OPEN — NOW FIND YOUR FIRST PRODUCT
Browse Verified Wholesale Brands — Free Access
With your Seller Central account open the next step is finding your first wholesale product. The Brandhunterz Brands Directory gives you instant free access to verified wholesale brands with real trade contacts and confirmed Amazon FBA approval status — start sourcing today.
About the Author
This article is written by the team at Brandhunterz Ltd — a UK registered Amazon FBA wholesale sourcing company (Company No: 15342697) registered in England and Wales since 2023. Visit brandhunterz.com to learn more.