
AMAZON FBA TIPS · 2026
How to Send Your First FBA Shipment to Amazon — Complete Step by Step Guide 2026
By Brandhunterz Ltd | Company No: 15342697 | 13 minute read
Affiliate Disclosure: This article contains affiliate links. If you purchase through our links we may earn a commission at no extra cost to you. We only recommend tools we genuinely use and believe in. Read our full disclaimer.
Sending your first FBA shipment to Amazon is one of the most exciting milestones in your Amazon wholesale journey. It is the moment your business becomes real — your products go into Amazon’s warehouse and your listing goes live for millions of customers to find and buy.
But it is also one of the steps where most beginners make costly mistakes. Wrong labelling rejected shipments stranded inventory and unexpected fees are all common problems that could have been avoided with proper preparation. We are Brandhunterz Ltd — a UK registered wholesale sourcing company (Company No: 15342697) — and in this guide we walk you through every single step of creating and sending your first FBA shipment correctly.
💡 Quick Summary
Creating your first FBA shipment involves adding your product to Seller Central creating a shipment plan printing FNSKU labels labelling your products packing your boxes booking a courier and tracking your shipment. The entire process takes 2 to 4 hours for a first shipment and becomes much faster with practice.
Before You Start — What You Need
Before creating your FBA shipment make sure you have everything ready. Missing any of these will stop you midway through the process:
| Item Needed | Details | Essential? |
|---|---|---|
| Active Amazon Seller account | Professional plan fully verified and approved | Yes |
| Wholesale stock received | Products delivered from your wholesale supplier | Yes |
| Product listed on Amazon | ASIN created or joined in Seller Central | Yes |
| Label printer | Thermal or laser printer for FNSKU labels | Yes |
| Label stock | Standard 40x30mm labels for products | Yes |
| Cardboard shipping boxes | Strong double wall boxes — various sizes | Yes |
| Packing materials | Bubble wrap tissue paper or packing peanuts | Yes |
| Tape gun and packing tape | Strong clear packing tape — minimum 50mm wide | Yes |
| Weighing scales | For accurately weighing packed boxes | Yes |
| Tape measure | For measuring box dimensions accurately | Yes |
Step by Step — Creating Your FBA Shipment in Seller Central
Step 1 — Go to Manage FBA Inventory
Log into Seller Central. Go to Inventory — Manage FBA Inventory. Find the product you want to send to Amazon. Click the dropdown arrow next to the product and select Send or Replenish Inventory. This begins your shipment creation process.
Step 2 — Set Your Ship From Address
Enter the address you will be shipping from — your home address business address or prep centre address. Make sure this is accurate as Amazon uses it to assign you to the nearest fulfilment centre and calculate shipping costs.
Step 3 — Choose Individual Products or Case Packed
| Packing Type | When to Use |
|---|---|
| Individual Products | When sending mixed quantities or different products in same shipment |
| Case Packed Products | When all boxes contain identical quantities of the same product — faster processing |
For your first shipment select Individual Products — it gives you more flexibility with quantities and is easier to manage when you are learning the process.
Step 4 — Enter Your Quantity
Enter the exact number of units you are sending in this shipment. Double check this number against your physical stock count before proceeding. Entering the wrong quantity causes inventory discrepancies that are time-consuming to resolve.
Step 5 — Choose Your Labelling Option
| Labelling Option | Cost | Recommendation |
|---|---|---|
| Merchant Labels — You label your products | Free | Recommended — do it yourself |
| Amazon Labels — Amazon labels for you | £0.15 to £0.20 per unit | Only for large volumes |
Always choose Merchant Labels for your first shipment. Print your own FNSKU labels — it is free and gives you complete control over label quality and placement.
Step 6 — Review and Confirm Shipment
Amazon will assign your shipment to one or more fulfilment centres. Review the destination address quantity and any fees shown. Click Approve Shipment to confirm and proceed to the working shipment stage.
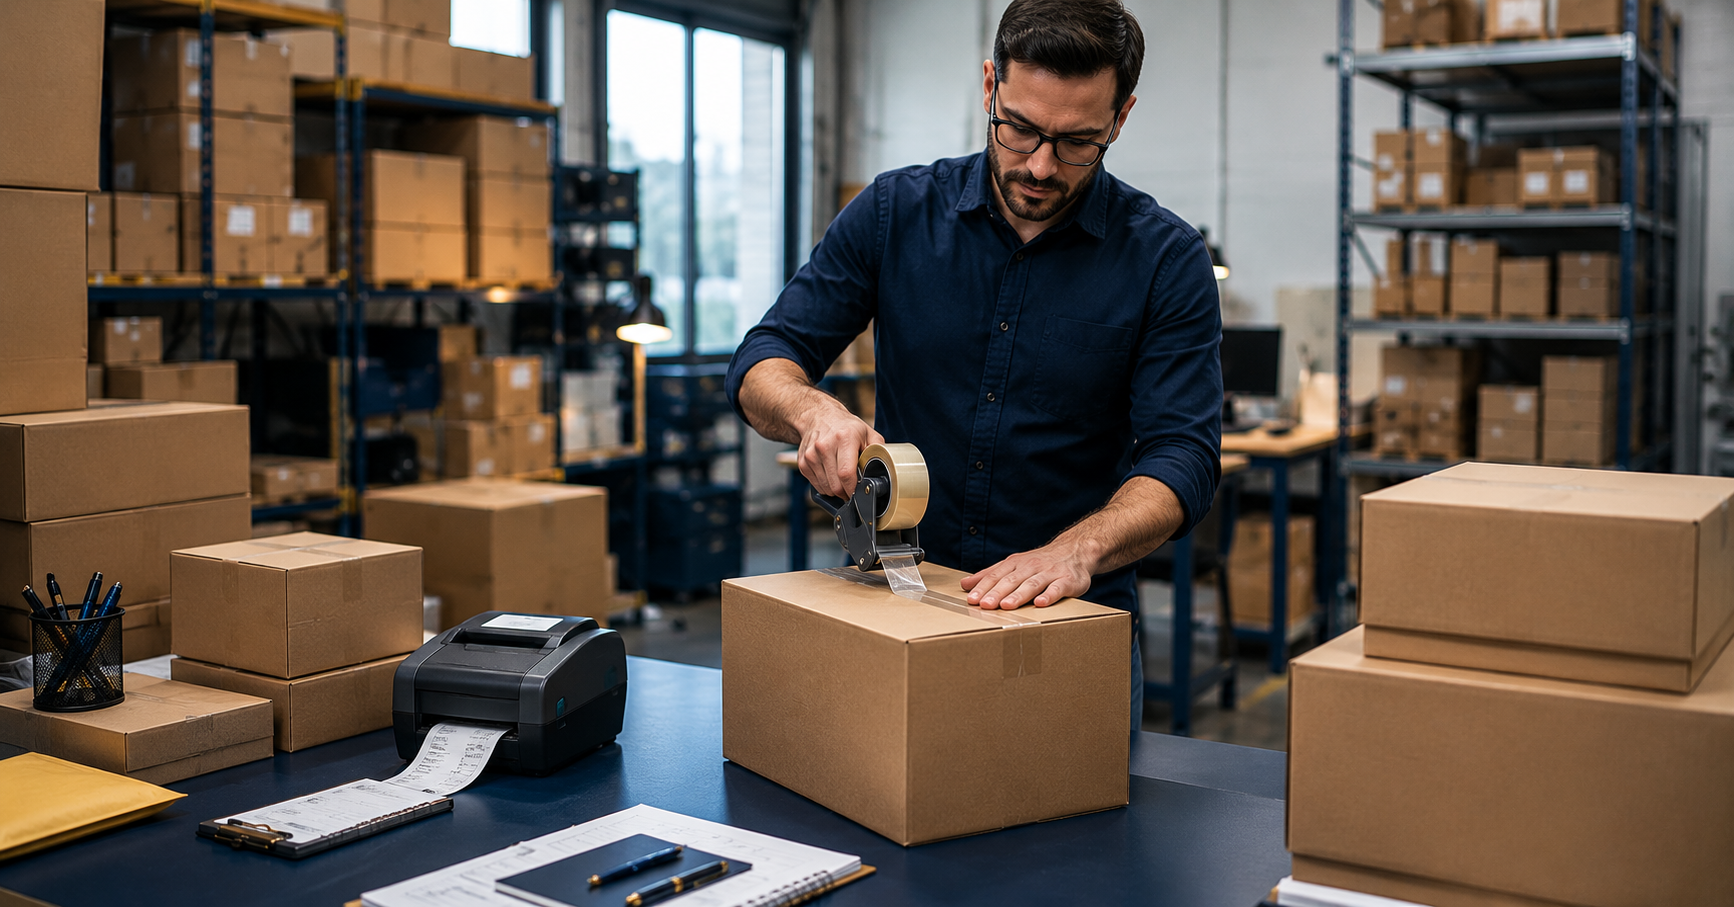
Step 7 — Print Your FNSKU Labels
Download and print your FNSKU labels. Each unit requires one label. Print on adhesive label stock — standard 40x30mm labels work perfectly. Print a test label first to check the barcode scans correctly before printing the full batch.
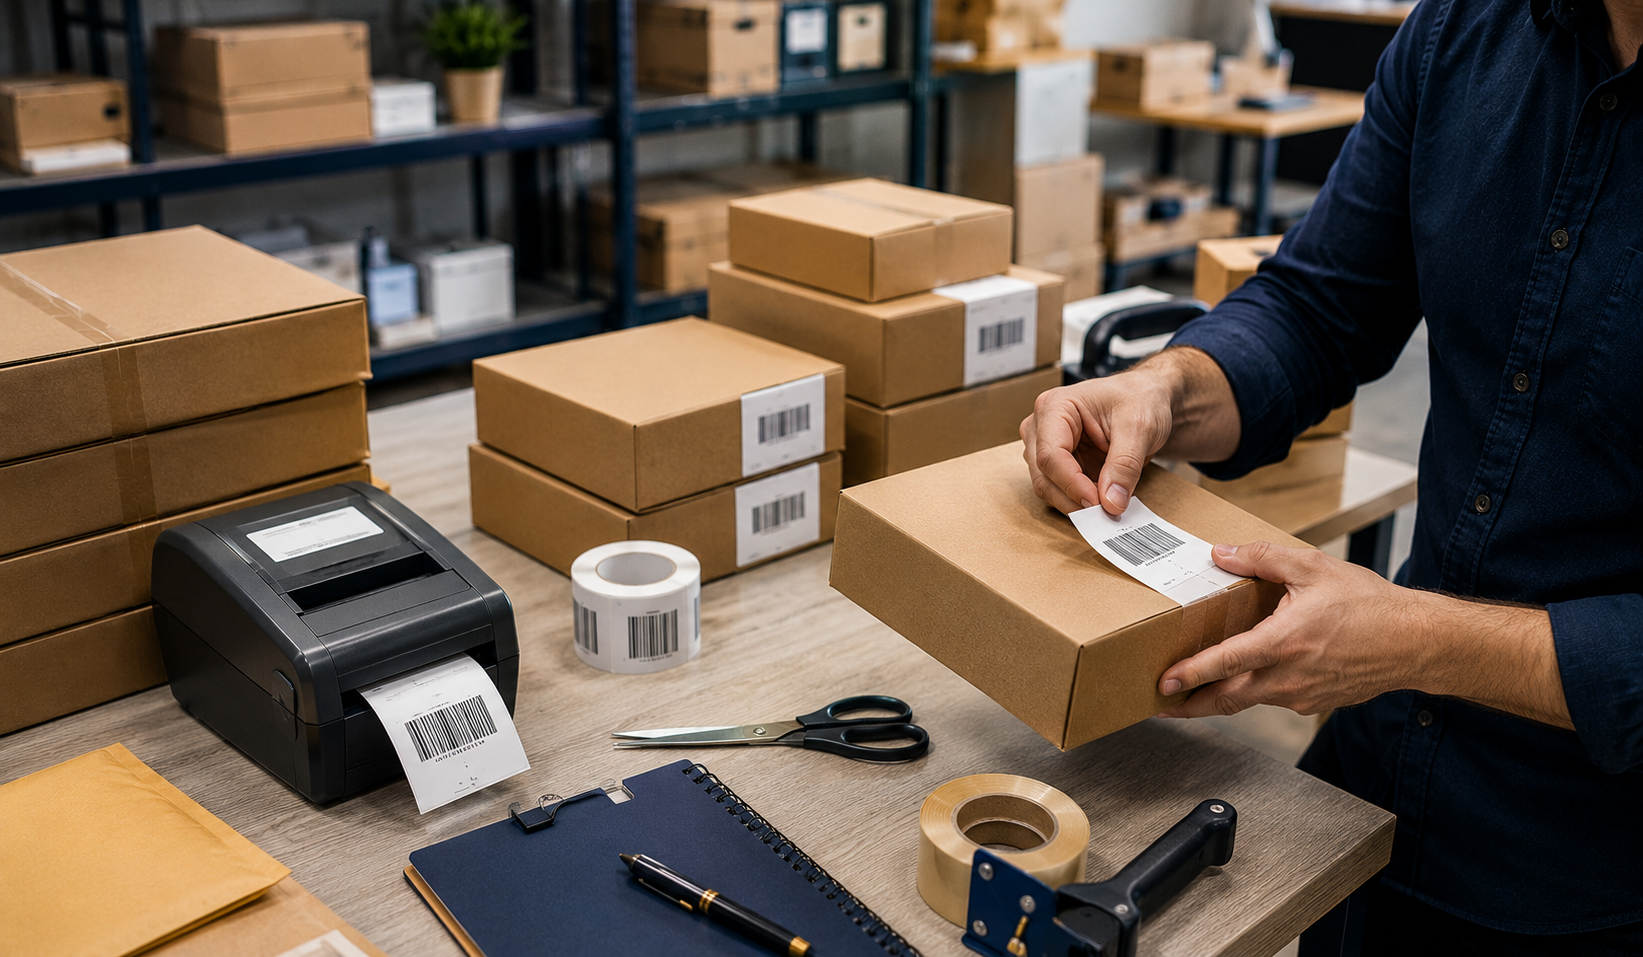
Labelling Your Products Correctly
Correct labelling is critical. Amazon will reject or quarantine shipments with labelling errors causing significant delays and costs. Follow these rules for every unit:
| Labelling Rule | Why It Matters |
|---|---|
| Cover existing barcodes completely | Amazon scanners must read FNSKU only — not manufacturer barcode |
| Place label on flat scannable surface | Curved or wrinkled surfaces cause scan failures |
| Do not place label over seams or edges | Labels on edges peel and become unreadable |
| Ensure label is not damaged or creased | Damaged barcodes cannot be scanned — unit rejected |
| One label per unit only | Multiple labels cause confusion and scanning errors |
| Label must be clearly readable | Poor print quality causes rejection — test print first |
💡 Pro Tip
Invest in a dedicated thermal label printer for FBA labelling. Thermal printers produce crisp scannable barcodes that do not smudge fade or run. A good thermal printer costs £60 to £150 and will save you hours of frustration and rejected shipments over time.
Packing Your Boxes for Amazon FBA
Amazon has specific requirements for how boxes must be packed and sealed. Following these requirements prevents your shipment being rejected at the fulfilment centre:
Box Requirements
| Requirement | Specification |
|---|---|
| Maximum box weight | 23kg maximum per box — weigh every box |
| Maximum box dimensions | 63.5cm on any single side maximum |
| Box condition | New or like-new — no damage or crushing |
| Sealing tape | Clear or brown packing tape minimum 50mm wide — no masking tape |
| Packing density | Fill all empty space — products must not move inside box |
| Old labels | Remove or completely cover all old labels and barcodes on reused boxes |
Packing Checklist
- All products labelled with FNSKU before packing
- Fragile products individually wrapped in bubble wrap
- Empty space filled with packing material — no movement inside box
- Packing list included inside each box
- Box sealed on all seams with strong packing tape
- Box weight under 23kg — weighed and confirmed
- Box dimensions measured and recorded
- No external branding visible on boxes — plain brown cardboard only
Completing Your Shipment in Seller Central
Step 8 — Enter Box Contents and Dimensions
Back in Seller Central enter the details for each box in your shipment. For each box enter the number of units inside the box weight in kg and dimensions in cm. This information must be accurate — Amazon uses it to check your shipment when it arrives.
Step 9 — Print Box Labels
After entering box contents Seller Central generates unique box labels — one per box. Print these and apply one label to the outside of each box in a clearly visible location. These box labels tell Amazon which shipment each box belongs to and what should be inside.
Step 10 — Choose Your Courier
| Courier Option | Best For | Cost |
|---|---|---|
| Amazon Partnered Carrier | Best rates for most shipments — tracked automatically | Discounted rates |
| UPS | Reliable for heavier shipments — good tracking | Standard rates |
| DHL | Good for larger shipments — international also | Standard rates |
| Royal Mail | Small lightweight shipments only | Lowest cost for small |
Always use the Amazon Partnered Carrier option for your first shipment. It gives you discounted rates automatic tracking integration with Seller Central and simplified booking — all through the Seller Central interface without needing a separate courier account.
Step 11 — Book Collection or Drop Off
After choosing your courier book a collection from your address or find the nearest drop-off point. Enter your tracking number into Seller Central after dropping off or receiving collection confirmation. This links your physical shipment to your Seller Central shipment record.
Step 12 — Mark Shipment as Shipped
Once your boxes are collected or dropped off return to Seller Central and mark your shipment as shipped. Enter your tracking number if not already automatically populated. Your shipment status will update as it moves through the courier network toward the Amazon fulfilment centre.
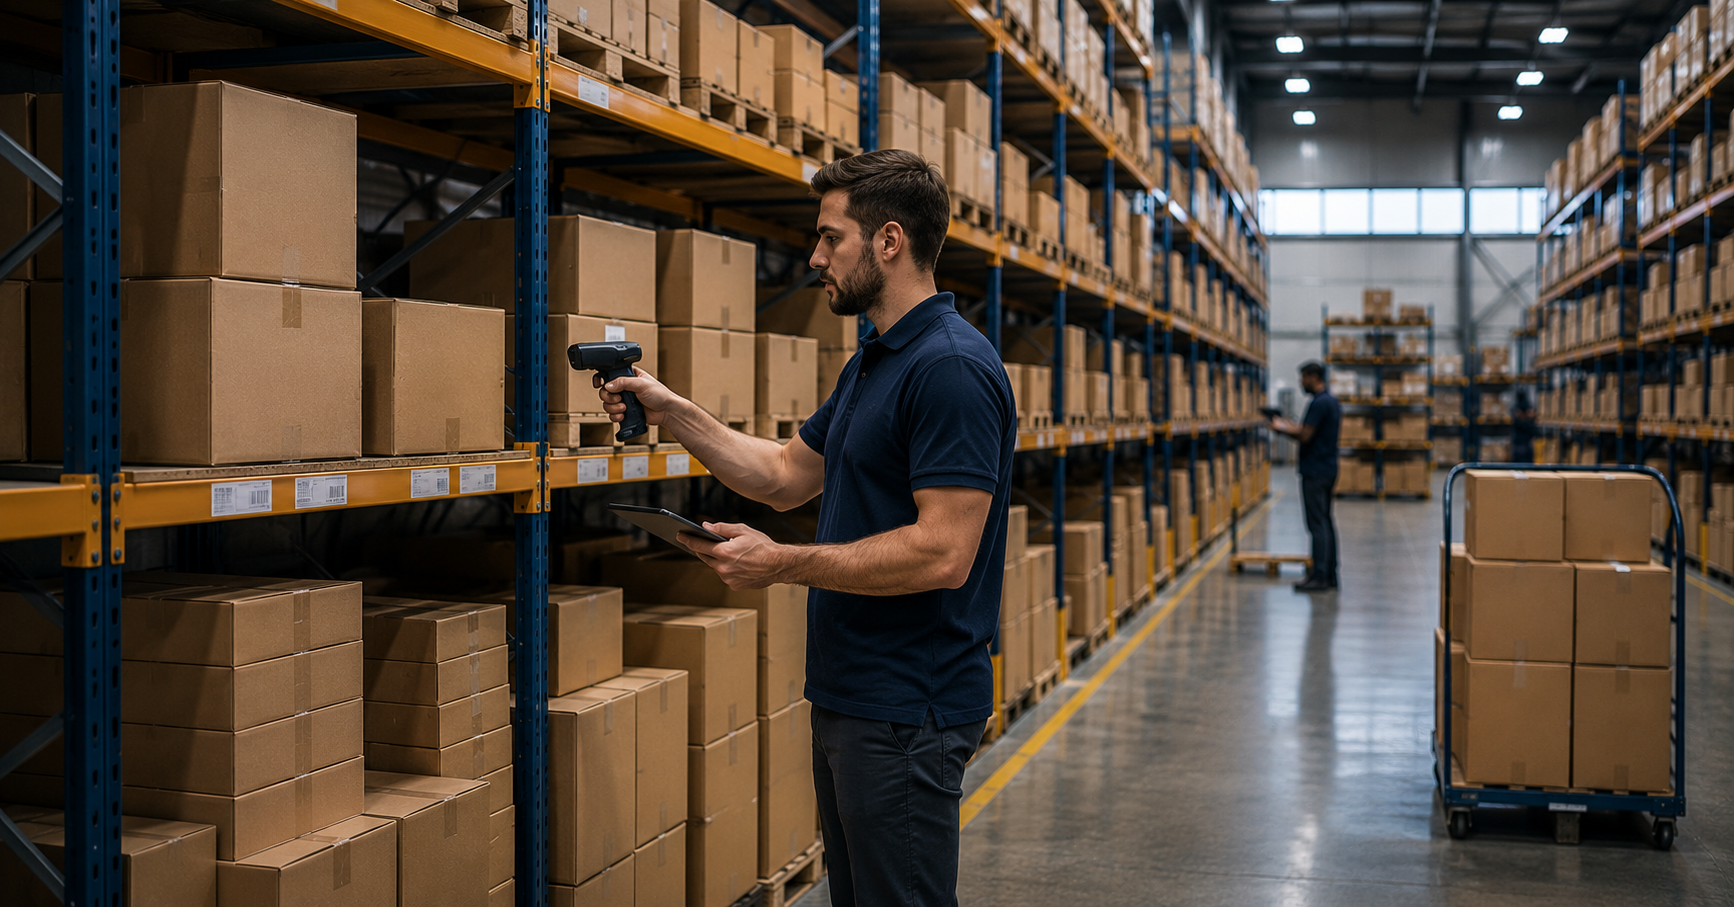
After Your Shipment Arrives — What to Expect
Once your shipment arrives at the Amazon fulfilment centre here is what happens:
| Stage | What Happens | Typical Time |
|---|---|---|
| Received | Amazon confirms shipment arrived at warehouse | Day of arrival |
| Checked In | Amazon scans and counts your units | 1 to 3 business days |
| Available | Stock available for sale — listing goes live | Same day as checked in |
| Closed | Shipment fully received and reconciled | 3 to 7 business days |
Common First Shipment Mistakes to Avoid
| Mistake | Consequence | How to Avoid |
|---|---|---|
| Poor quality FNSKU labels | Units rejected or quarantined at warehouse | Use thermal printer — test scan before shipping |
| Box over 23kg | Shipment rejected — return shipping cost charged | Weigh every box before sealing |
| Wrong unit count entered | Inventory discrepancy — time consuming to resolve | Count stock twice before entering quantity |
| Not covering existing barcodes | Wrong product scanned — inventory error | FNSKU label must completely cover all other barcodes |
| Poorly packed boxes | Damaged products — customer returns — bad feedback | Fill all empty space — wrap fragile items individually |
Using Keepa to Plan Your Reorder Before Stock Arrives
While waiting for your first shipment to be checked in at Amazon this is the perfect time to use Keepa to calculate your reorder point. Check the estimated monthly sales for your product and calculate how many days your current stock will last. Set a reorder reminder so you never run out of stock after your first successful launch.
Conclusion — Your First Shipment is the Hardest One
Your first FBA shipment takes the longest because everything is new. By your third or fourth shipment the entire process becomes routine and takes a fraction of the time. The key is to follow the process correctly the first time — good habits established early prevent costly mistakes later.
Use the step by step guide above for every shipment until it becomes second nature. And remember — the moment your stock is checked in and your listing goes live you are officially an Amazon FBA wholesale seller.
For the complete wholesale journey from finding suppliers to sending your first shipment browse our Amazon FBA Wholesale Beginners Guide or browse the Brandhunterz Brands Directory to find your next wholesale supplier today.
READY TO SEND YOUR FIRST FBA SHIPMENT?
Get the Complete Wholesale System From Brandhunterz
Our Amazon FBA Wholesale Beginners Guide covers the complete journey from account setup to first shipment to scaling your business — all in one affordable PDF guide.
About the Author
This article is written by the team at Brandhunterz Ltd — a UK registered Amazon FBA wholesale sourcing company (Company No: 15342697) registered in England and Wales since 2023. Visit brandhunterz.com to learn more.